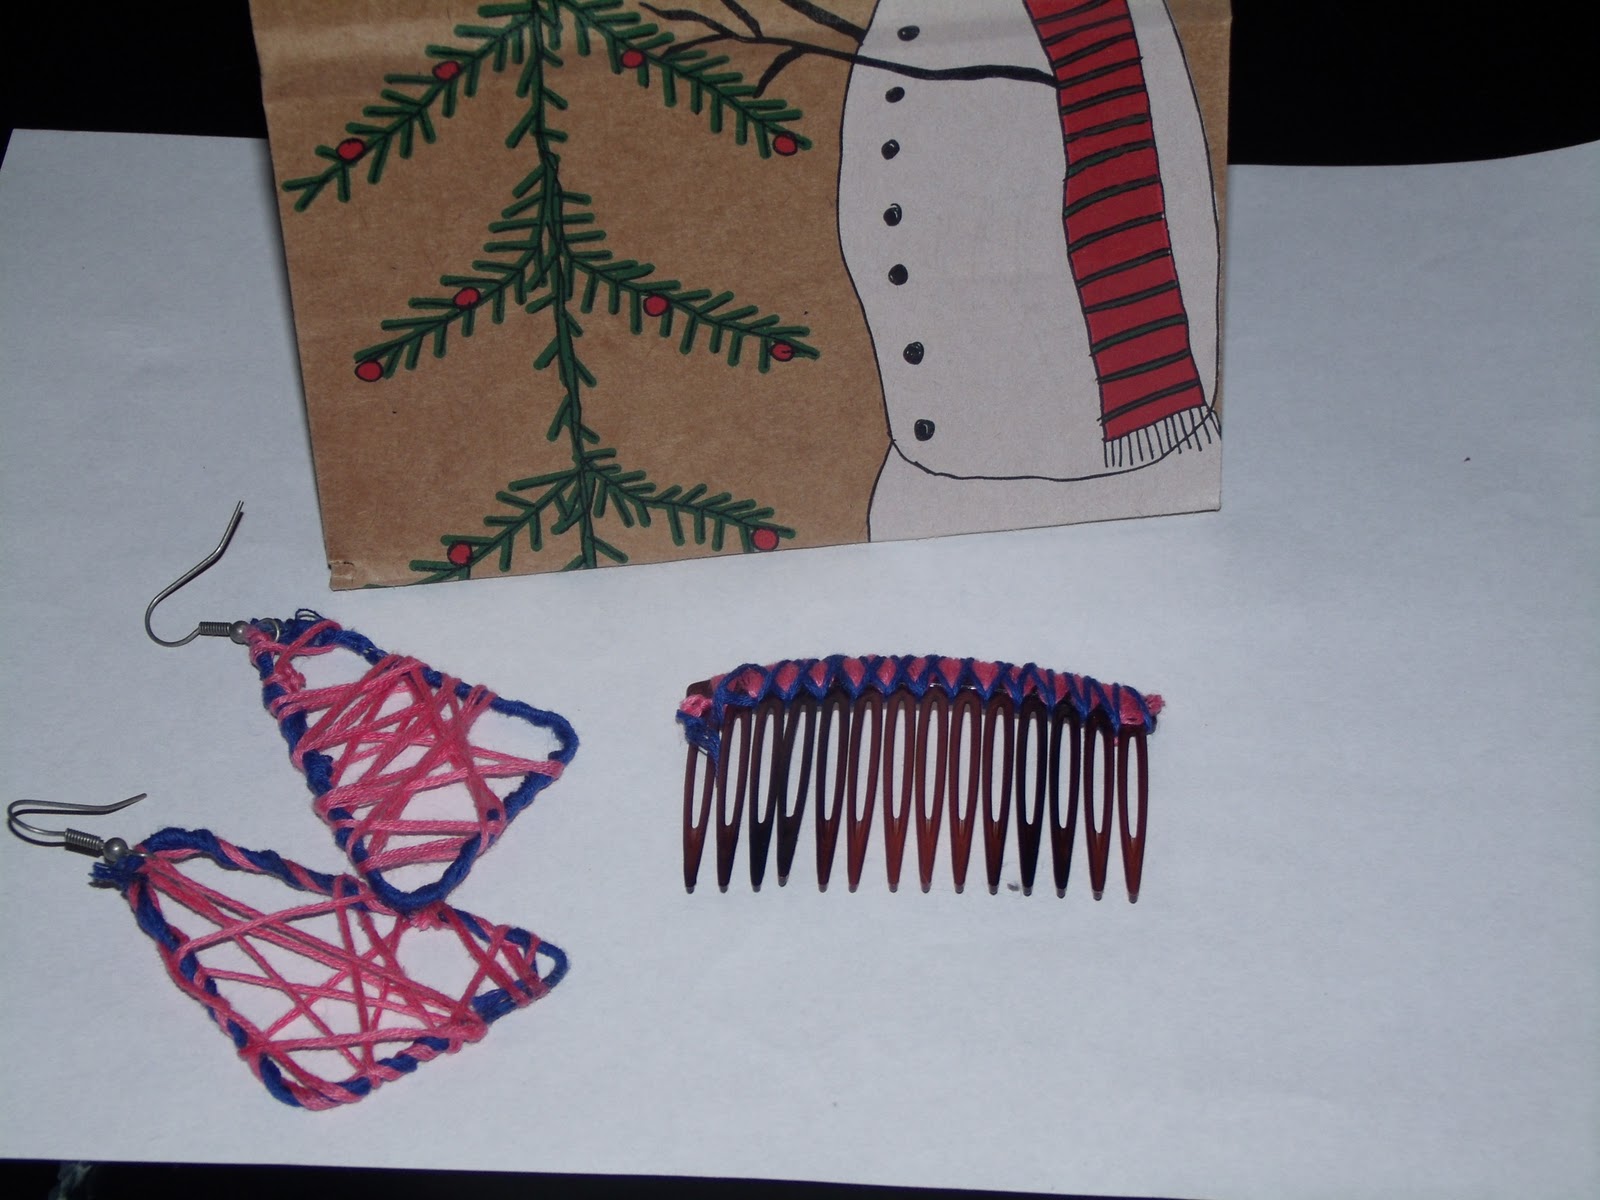
For the first time this year, Ally decided that she wanted to give her friends home made presents for the holidays. Two of Ally's close friends celebrate Hanuka, so we needed to find something that could be personalized, and that wasn't too Christmas-y. We scoured all of our craft books for ideas, and this is what we came up with. I did the math, and each of these gifts cost us about $1.50 to make, and that is including the gift bag. Say word.
Supplies:
- Hair Combs
- Super Glue
- Liquid Stitch
- Paper Clips
- Earring tops/hooks (missing from picture)
- Cotton String
- Gift bags
The first thing you will need to do is take the paper clip apart. You just unfold it until it makes a triangle. Then superglue the ends together to make them stay. (Keep in mind, the triangle will come apart very easily, so you have to be careful.)
Then take cotton string color of your choosing, and tie a knot in the string around the paper clip, just to give yourself a starting point and a stable foundation.
Then you just wrap the string around the paper clip, covering the entire thing with the string. You can get creative with this. Use a few colors, make designs; personalize it. Ally used her friends' favorite colors, and we tried to give them all somewhat different designs.
Then you add the earring hooks, and you are done! So where does the glue come in, right? Wellll.......I have a major case of OCD when it comes to making sure things I make for others don't come apart. I just think it would be horrible if I gave you something that I made and it fell apart while they were wearing it. So I used superglue to glue the tied knots to the paper clip, and I applied a thin layer of liquid stitch to the paperclip before wrapping the cotton string around it. I don't know if this part is necessary, though; Ally skipped it and hers came out just fine :)
Take the same colored strings that you used for the earrings (or different colors, its up to you) and wrapped the strings around the plastic hair combs to make the coordinating pieces:
Here is another example of the finished product:
Ally and I love the way they turned out. I hope her friends enjoy them, and maybe they will appreciate them more because they are home made. :)